JA5-70 Diaphragm Chuck Runout Check
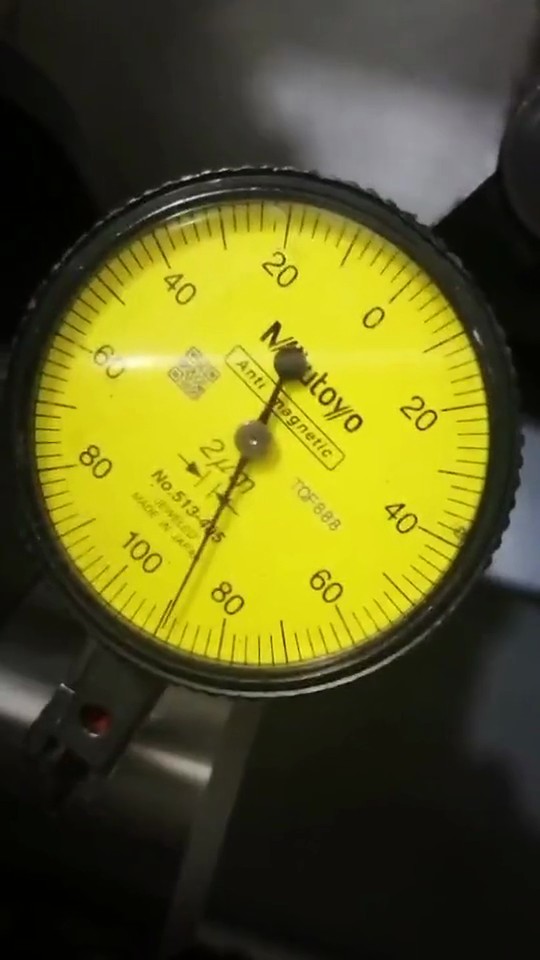
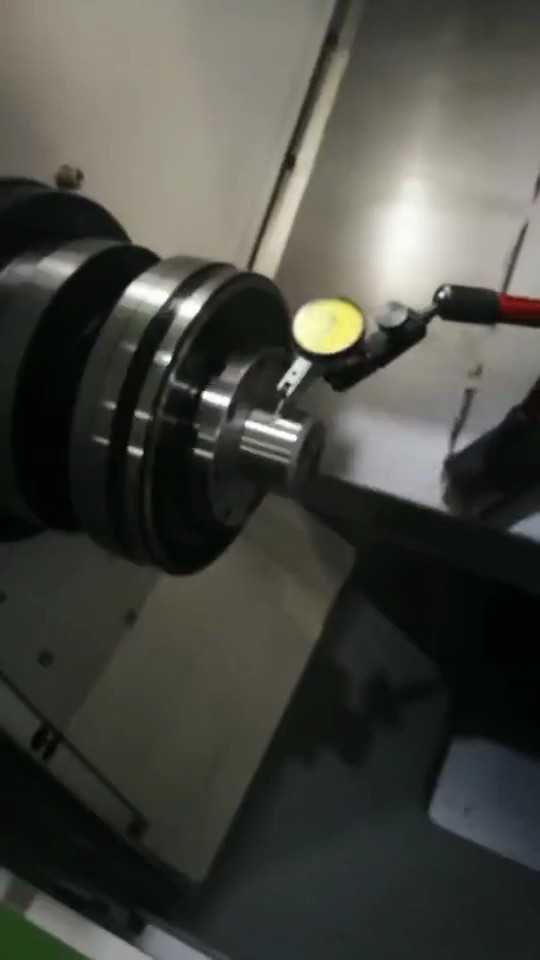
The clip starts at the indicator, then moves back to show the JA5-70 and the gripped part. The indicator holder is fixed to the machine. The close view shows the needle, while the wider view shows where the part is held and measured.
How the grip works
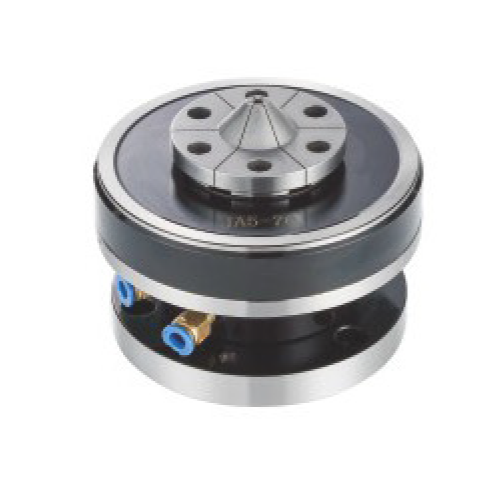
The built-in pneumatic cylinder flexes a metal diaphragm. Its gripping segments move with that small elastic deflection. The grip does not depend on conventional jaws travelling along long slideways. A replaceable diaphragm collet is finished to match the part. External gripping closes onto the outside diameter. Internal gripping expands against the bore.
Choose the gripping direction from the machining datum. Gripping inside a bore leaves the outside diameter accessible. For a slender shaft or thin wall, set the contact length, overhang and clamping force together. After mounting, check the chuck datum first, then the gripped part.
What to check in this setup
- Record the indicator contact position.
- Check that the indicator holder is secure.
- Separate radial runout from repeat clamping error.