New 120 Clamping Head Chuck with Pneumatic Changeover Tool
The 120 chuck and pneumatic changing tool are ready
We have just finished this 120 clamping head chuck with a pneumatic changeover tool. In the photo, the chuck and installed head are on the right; the working end of the changing tool is on the left. A matching tool lets you change heads for another part size without removing the whole chuck.
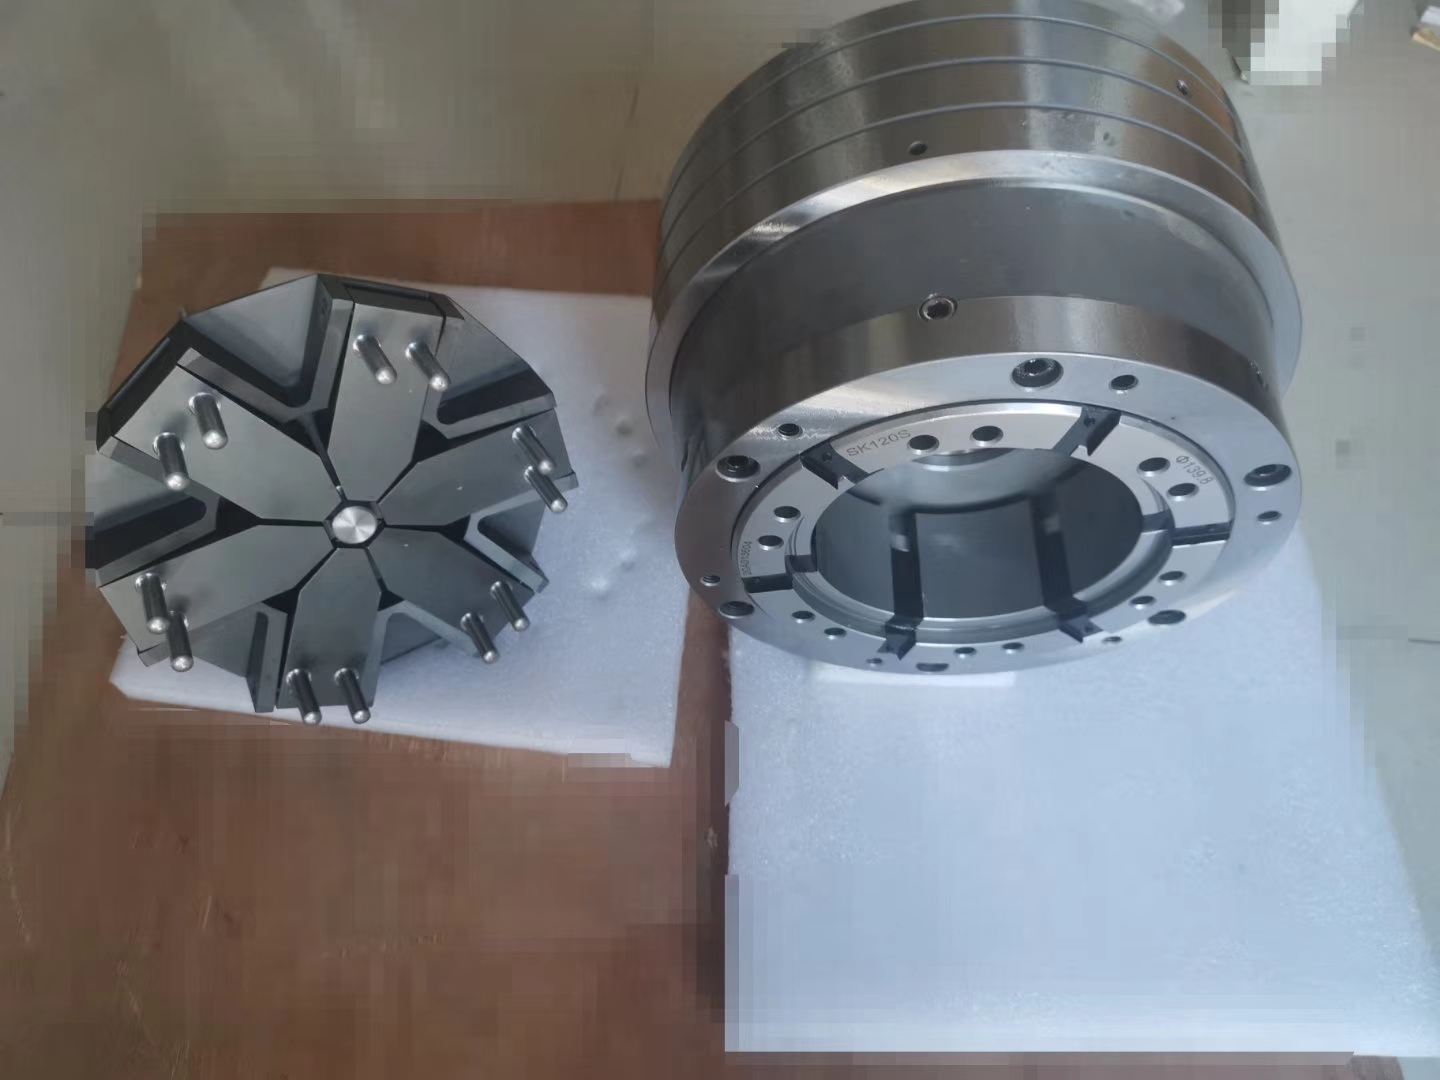
Chuck, head and tool: what each one does
There are three parts to the arrangement. The chuck mounts on the machine, the head grips the workpiece, and the changing tool removes and installs the head. The connections and engagement pins in the photo show where the tool and head meet during a change.
Through-Hole Clamping Head Chuck
Steel segments grip the part
Hardened steel segments grip the part. Vulcanized rubber joins the segments so they open and close together and fills the gaps between them. In the matching chuck, axial movement against the taper closes the head around the workpiece.
A broad contact surface spreads the grip along the held section. Choose a smooth or grooved head according to the part surface, material, contact length and cutting task. Smooth heads are an option for finished surfaces; grooved versions offer other gripping arrangements.
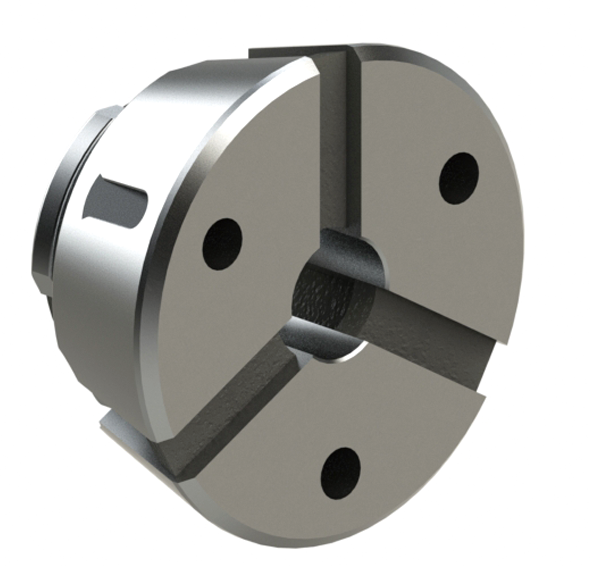
Change the head and leave the chuck mounted
This 120 setup uses pneumatic assistance for head changes. The tool must match the head connection and engagement points, and there needs to be room in front of the chuck to use it. The chuck stays mounted, which is useful when preparing several part sizes.
Stop the machine before changing heads. Clean the connecting and gripping areas, then use the matching tool to fit the prepared head. Check seating and axial location, load the first part and inspect it. Keep the stop position and settings with each head so the next change is easier.
Choose the right gripping profile
For round parts, choose the bore by diameter and tolerance. For square and hexagonal parts, use the matching profile and across-flats size. A machinable head and bore tool can prepare a special bore. The changing tool swaps the head; the bore tool machines its gripping hole.
What to check on the machine
On the machine side, check the spindle connection, flange, drawtube, available stroke and location. For through feeding, the head, chuck and machine passages all need enough space. Sleeves and thin-wall parts also need gripping length and force chosen around their stiffness.
Chucks, heads and tools
The links below show each part of the setup. Compare the chuck and head first, then the changing and bore tools for your job.
Clamping Head Systems
External gripping, internal gripping and tools.
Through-Hole Clamping Head Chuck
Chuck body and machine connection.
Segmented Clamping Head
Bore profiles, smooth and grooved heads.
Clamping Head Changeover Tool
Manual and pneumatic changing tools.
Clamping Head Bore Tool
Prepare the bore of a machinable head.
Need a similar 120 setup?
Need a similar 120 arrangement? Send the part drawing, gripping size, tolerance, contact length, material and surface requirements. Include machine and drawtube connections, through-feeding needs, changeover frequency, air supply and access in front of the chuck.