Power Chuck Automation Guide
Power Chuck Automation Checks: Bar Feeder, Robot Loading and Clamp Confirmation
Before a power chuck is used in CNC lathe automation, the chuck should be checked as part of the complete loading and clamping system. The main items are jaw opening, loading clearance, part seating, through-hole or front-loading path, clamp / unclamp confirmation, actuator stroke, drawbar or cylinder matching, machine guard clearance and the robot, gantry or bar feeder path.
Automation problems are not always caused by the robot, bar feeder or loader. A loading failure can also come from insufficient jaw opening, incorrect top jaw position, unstable part seating, a blocked through-hole path, missing clamp confirmation, or a mismatch between chuck, actuator and machine interface.
Why Automation Selection Is Not Only About the Chuck Body
A power chuck for automation is not selected by chuck diameter alone. The chuck body, jaws, actuator, spindle interface, loading device and machine control conditions must work together.
For manual loading, an operator can often correct part position before clamping. In automation, the part position must be repeatable before the chuck closes. This makes jaw opening, loading clearance, workpiece seating and signal confirmation more important.
Bar Feeder, Robot Loading and Gantry Loading: Different Requirements
Bar feeders, robot loading and gantry loading place different requirements on a chuck system.
A bar feeder usually requires a clear through-spindle path. The chuck through-hole, spindle bore, draw tube bore and rotary cylinder bore must be checked together. Robot loading and gantry loading usually depend more on front access, jaw opening, part seating, tool and guard clearance, and confirmation that the part is clamped before machining starts.
| Loading method | Main chuck requirement | Common check direction |
|---|---|---|
| Bar feeder | Clear through-spindle passage and stable bar support | Through-hole chuck, spindle bore, draw tube bore, rotary cylinder bore and bar diameter |
| Robot loading | Repeatable front loading and part seating | Jaw opening, top jaw shape, loading path, gripper clearance and clamp confirmation |
| Gantry loading | Stable vertical or horizontal transfer into the chuck | Part orientation, jaw clearance, machine guard clearance, seating surface and open / close signals |
Bar Feeder Checks for Through-Hole Chuck Systems
For bar feeder applications, the through-hole path should be checked through the complete system. The nominal chuck bore alone is not enough.
Check the workpiece or bar diameter, chuck bore, spindle bore, draw tube bore and rotary cylinder bore. The smallest opening in the full system limits the practical bar passage. Also check whether the selected chuck structure, jaw setup and actuator layout support the required feeding direction.
Robot Loading Checks for Front-Loaded Parts
For robot loading, the part is usually placed into the chuck from the front. The main checks are jaw opening, robot gripper clearance, part seating surface, workpiece orientation and whether the part remains stable before the chuck fully clamps.
The robot path should not interfere with the top jaws, machine guard, tool turret, coolant lines or other fixtures. The chuck must also open far enough for the part and gripper to enter safely.
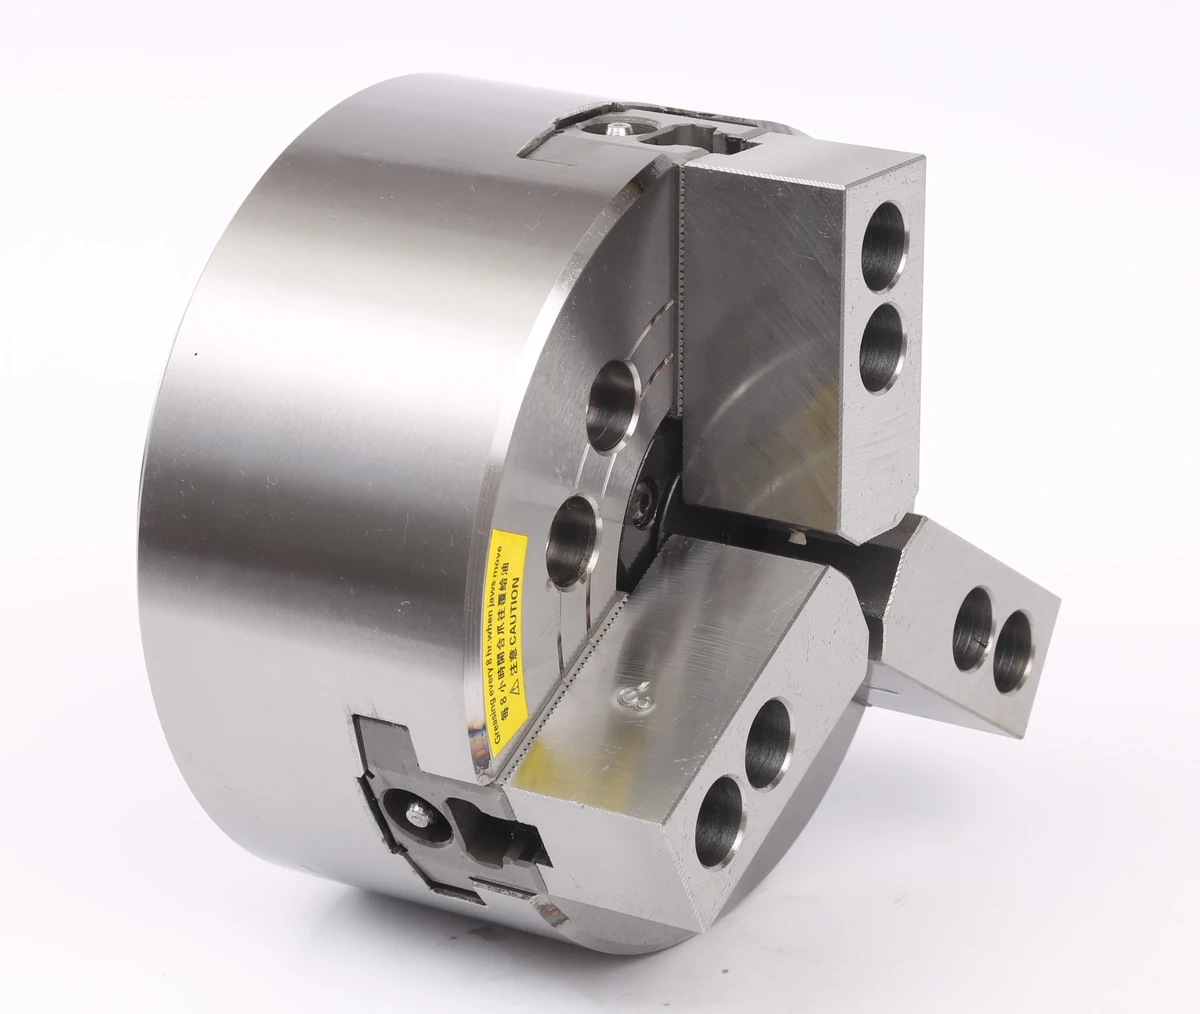
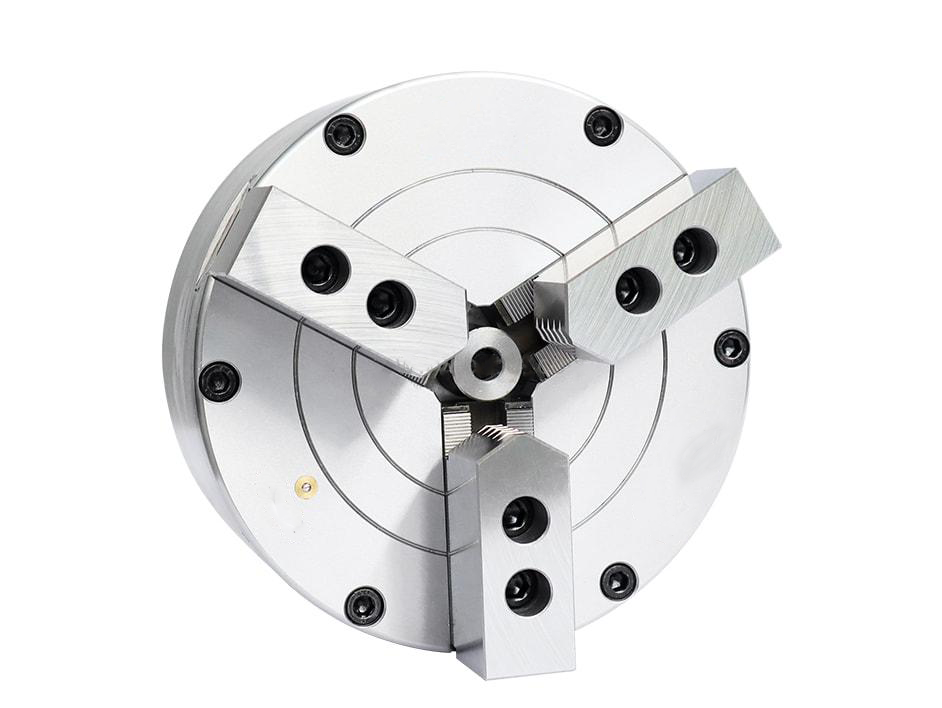
Jaw Opening, Top Jaw Position and Loading Clearance
Jaw opening is one of the most important checks in automated loading. The chuck must open enough for the workpiece and loading device, but the final jaw position must still provide correct contact and stable clamping.
Top jaw position, jaw height, gripping diameter and loading clearance should be checked before automation review. A chuck may have the correct jaw count but still fail in automation if the top jaws block the robot gripper or if the loading clearance is too small.
For more detail, see the KORRETTO article on jaw stroke and clamping range.
Clamp / Unclamp Confirmation and Signal Boundary
Automated machining normally requires confirmation that the chuck has reached a safe open or closed condition before the next machine action begins.
This may include chuck-open confirmation, chuck-closed confirmation, part seating confirmation or other machine-side logic. The exact signal method depends on the machine, chuck, actuator and automation system.
This article does not provide PLC wiring, interlock wiring or machine parameter instructions. Those details are machine-specific and should be handled during engineering confirmation.
Through-Hole, Semi-Through and Solid-Center Layouts
Through-hole, semi-through-hole and solid-center structures should be selected according to the loading method.
Through-hole systems are usually reviewed for bar feeding, tube feeding or long workpieces that pass through the spindle. Semi-through or front-mounted layouts may be used when partial center clearance is needed but full rear passage is not required. Solid-center chucks are usually reviewed for front-loaded blanks, discs, sleeves or short parts.
Do not choose the actuation type before confirming the workpiece loading path.
Hydraulic Power Chuck Automation Checks
Hydraulic power chucks are commonly used with a rotary hydraulic cylinder, drawbar or draw tube. For automation, the chuck, cylinder, drawbar, actuator stroke, mounting interface and machine spindle should be checked as one system.
The cylinder stroke and drawbar movement should allow the chuck to reach the required open and closed positions. Rear space, through-hole clearance, signal confirmation and loading method should also be reviewed.

Pneumatic Power Chuck Automation Checks
Pneumatic power chucks can be useful in compact, front-mounted, fixture-style or air-driven clamping layouts. They should be checked together with air supply condition, jaw stroke, holding logic, loading clearance and workpiece support.
A pneumatic chuck should not be selected only because compressed air is available. The air supply, clamping margin, jaw movement and confirmation logic must match the workpiece and machine layout.
Workpiece Seating and Jaw Contact
In automated loading, the workpiece must seat consistently before the chuck clamps. If the part is tilted, not fully seated, blocked by chips or supported on the wrong surface, clamping confirmation alone may not guarantee correct machining position.
Check the part datum, jaw contact area, soft jaw or hard jaw selection, gripping length, part orientation and surface condition. For thin-wall or easily deformed parts, jaw contact area and clamping direction should be reviewed carefully.
Drawbar, Actuator Stroke and Rotary Cylinder Checks
The actuator must provide enough movement for the chuck to open and close as required. In a hydraulic system, this includes rotary cylinder stroke, drawbar or draw tube connection and rear clearance. In a pneumatic system, this includes pneumatic actuation movement, holding logic and air supply condition.
Actuator checks should be performed with the chuck drawing, actuator data, machine layout and loading method. This article does not provide adjustment steps.
Machine Guard, Robot Path and Chip Clearance
Automation review should also include the space around the chuck. The robot or gantry path, gripper shape, machine guard, tool turret, coolant nozzle and chip accumulation area can all affect loading reliability.
A loading path that works in a clean setup may fail if chips build up around the jaws or if the gripper path is too close to the top jaws. Clearance should be checked in the open, loading and closed positions.
What to Prepare Before Asking for Automation Review
Before requesting an automation chuck review, prepare:
- Machine brand and model
- Automation type, such as bar feeder, robot loading or gantry loading
- Workpiece drawing and material
- Loading direction and part orientation
- Workpiece diameter, length and gripping surface
- Through-hole, semi-through or solid-center requirement
- Required jaw opening and loading clearance
- Existing chuck model and actuator model
- Spindle nose and mounting interface
- Drawbar, draw tube or pneumatic actuation information
- Required clamp / unclamp confirmation
- Robot gripper or loader clearance if available
- Photos or layout drawings of the machine work area
Common Mistakes
Common mistakes include choosing a chuck by size only, ignoring the loading device path, selecting a through-hole chuck without checking the full bore chain, using top jaws that block the gripper, ignoring part seating, assuming clamp confirmation proves correct part position, and treating automation failure as a robot problem before checking the chuck and jaws.
For automation, the chuck, jaws, actuator, machine interface, loading device and workpiece should be reviewed together.
Related Power Chuck Resources
For the broad foundation, start with the power chuck overview. For the actuation system, see hydraulic power chuck and drawbar system, mounting interface and drawbar data, and runout and clamping accuracy.
For loading path decisions, review through-hole vs solid power chuck, 2-jaw vs 3-jaw vs 4-jaw power chucks, soft and hard jaws, jaw stroke and clamping range, and hydraulic vs pneumatic power chucks.
Related Resources
FAQ
What should be checked before using a power chuck with automation?
Check the loading method, jaw opening, loading clearance, workpiece seating, chuck structure, actuator stroke, mounting interface, clamp confirmation and the robot, gantry or bar feeder path.
Is a through-hole chuck required for a bar feeder?
A bar feeder usually requires a clear through-spindle path. The chuck bore, spindle bore, draw tube bore and rotary cylinder bore should be checked together before confirming the chuck.
Can a robot load parts into a hydraulic power chuck?
Yes, robot loading can be used with a hydraulic power chuck when the jaw opening, gripper clearance, part seating, clamp confirmation, actuator stroke and machine layout are properly checked.
Why does jaw opening matter in automated loading?
The chuck must open enough for the workpiece and loading device to enter without interference. Top jaw position, jaw height, gripping diameter and loading clearance all affect automated loading reliability.
What is clamp confirmation?
Clamp confirmation is a machine-side check that the chuck has reached a safe clamped or unclamped condition before the next action. The exact method depends on the machine, actuator and automation system.
Is a pneumatic chuck suitable for automation?
A pneumatic chuck can be suitable for automation when the air supply, jaw stroke, holding logic, loading clearance and workpiece support match the application. It should not be selected by actuation type alone.
What causes loading interference around the jaws?
Loading interference can come from insufficient jaw opening, tall top jaws, gripper shape, machine guard clearance, tool turret position, chip buildup or an incorrect part loading path.
What information is needed before reviewing an automated chuck setup?
Prepare the machine model, automation type, workpiece drawing, loading direction, chuck model, actuator data, jaw opening requirement, clamp confirmation requirement and photos or layout drawings of the work area.